3 November 2026
Why an LED Needs a Series Resistor Even When You Know Its Forward Voltage
A known forward voltage doesn't set the LED's current. Here's why a series resistor is still required, with a worked 5 V example and bench checks.
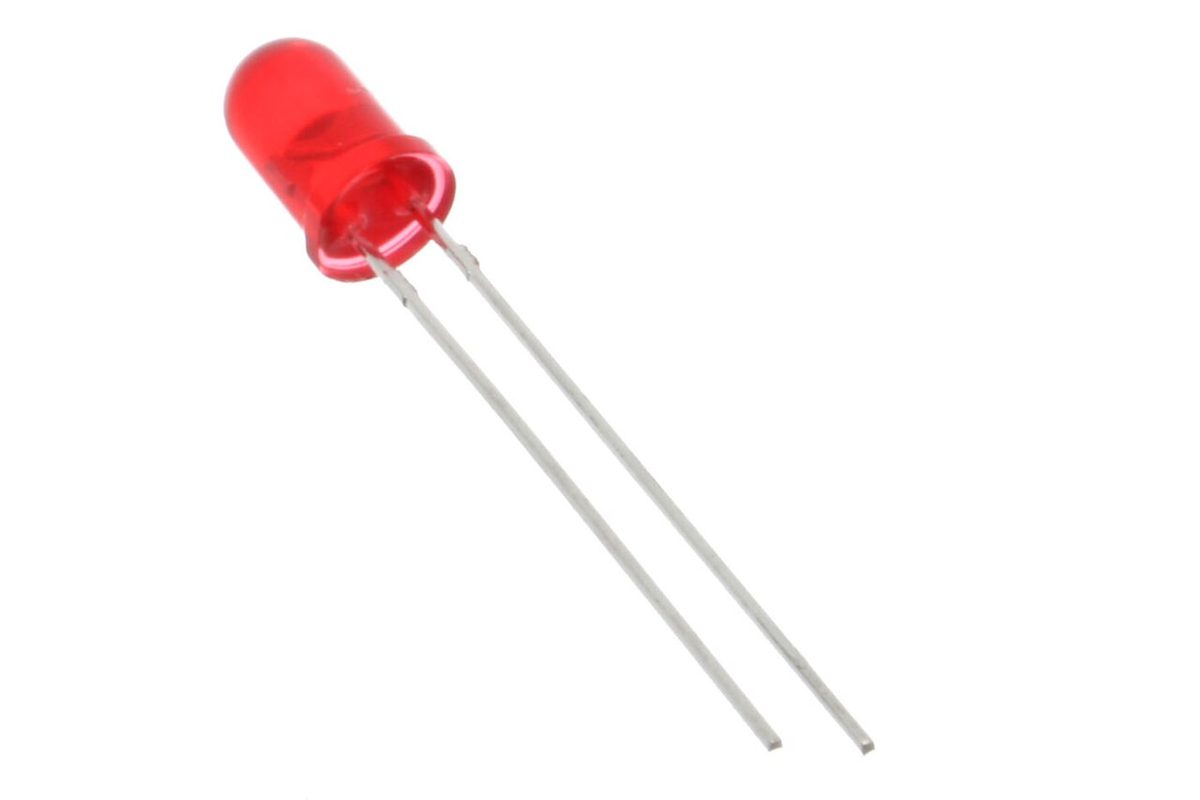
The problem with a fixed forward voltage
Most LED datasheets and bench references quote a forward voltage, often somewhere around 2 V for red and higher for blue or white. It is tempting to think that if the LED drops 2 V, connecting it to a 5 V supply leaves 3 V to be handled and everything is settled. It is not, because the forward voltage is a rough operating point rather than a fixed property of the device.
An LED is a diode, and its current rises exponentially with the voltage across its junction. Over a narrow voltage range, a change of a few tens of millivolts can multiply the current several times. A supply that is a little high, an LED from a different batch, or a junction that warms up while running can all move the operating point enough to change the current dramatically. Without anything in series to limit it, the LED simply takes whatever current the supply and wiring can deliver until something overheats or dies.
What the series resistor does
A resistor in series with the LED turns the circuit into a voltage divider between the supply and the LED. The resistor drops the difference between the supply voltage and the LED's forward voltage, and the current is then set mostly by that resistor. A 10 percent error in the LED's forward voltage now shifts the current by a much smaller percentage, because that error is a smaller fraction of the total voltage across the resistor.
This is why the resistor is not optional decoration. It converts a steep, unpredictable diode curve into a load that behaves close to a resistor, and it is what makes the current roughly the same from one LED to the next.
A worked example: 5 V, red LED, about 15 mA
Suppose you have a 5 V supply and a standard 5 mm red LED whose forward voltage you expect to be about 2.0 V at your target current of 15 mA. The resistor must drop the remaining 3.0 V, so R = (5.0 V - 2.0 V) / 0.015 A = 200 ohms. The nearest common value is 220 ohms. With 220 ohms, the current is (5.0 - 2.0) / 220 = about 13.6 mA, and the resistor dissipates 3.0 V × 13.6 mA ≈ 0.041 W, which a standard 1/8 W or 1/4 W resistor handles comfortably.
Now consider what happens if the real forward voltage is 2.2 V instead. The current becomes (5.0 - 2.2) / 220 ≈ 12.7 mA. If the forward voltage is 1.8 V, the current rises to about 14.5 mA. The LED's current changed by only about a milliamp across a 0.4 V range of forward voltage, which is the stabilizing effect the resistor provides. Without the resistor, that same 0.4 V shift would change the current by a large factor.
Bench tip Measure the actual current by reading the voltage across the resistor with your multimeter and dividing by its resistance, rather than trusting the calculation.
Temperature, batch spread, and choosing a target current
Forward voltage drops as an LED heats up, typically on the order of a couple of millivolts per degree Celsius, so an LED running hard for a while draws more current at the same supply voltage. A resistor sized with some headroom keeps this drift acceptable. Different colors also have different forward voltages, so a resistor calculated for a red LED will give a noticeably different current if you swap in a blue or white one.
Target currents for indicator LEDs are commonly in the range of a few milliamps to around 20 mA, with lower values often adequate for indicators and higher values used only when the datasheet allows it. Pick a current that gives visible brightness and stays well inside the device's rating rather than running it at the limit.
Bench tip Keep a few common resistor values on the bench, such as 150, 220, and 330 ohms, so you can try different currents without reordering parts.
Practical checks before you power it up
Confirm the resistor is in series with the LED, not in parallel, and that the LED is oriented correctly. Reversed polarity will block current entirely, while a shorted or missing resistor will let the LED draw far more current than intended. A quick check is to power the circuit from a current-limited bench supply set low, so a wiring mistake shows up as a current limit rather than a smell of burnt plastic.
When several LEDs share a supply, give each its own series resistor rather than sharing one among them. Small differences in forward voltage between LEDs will otherwise split the current unevenly, and the LED with the lowest forward voltage will take most of it.